
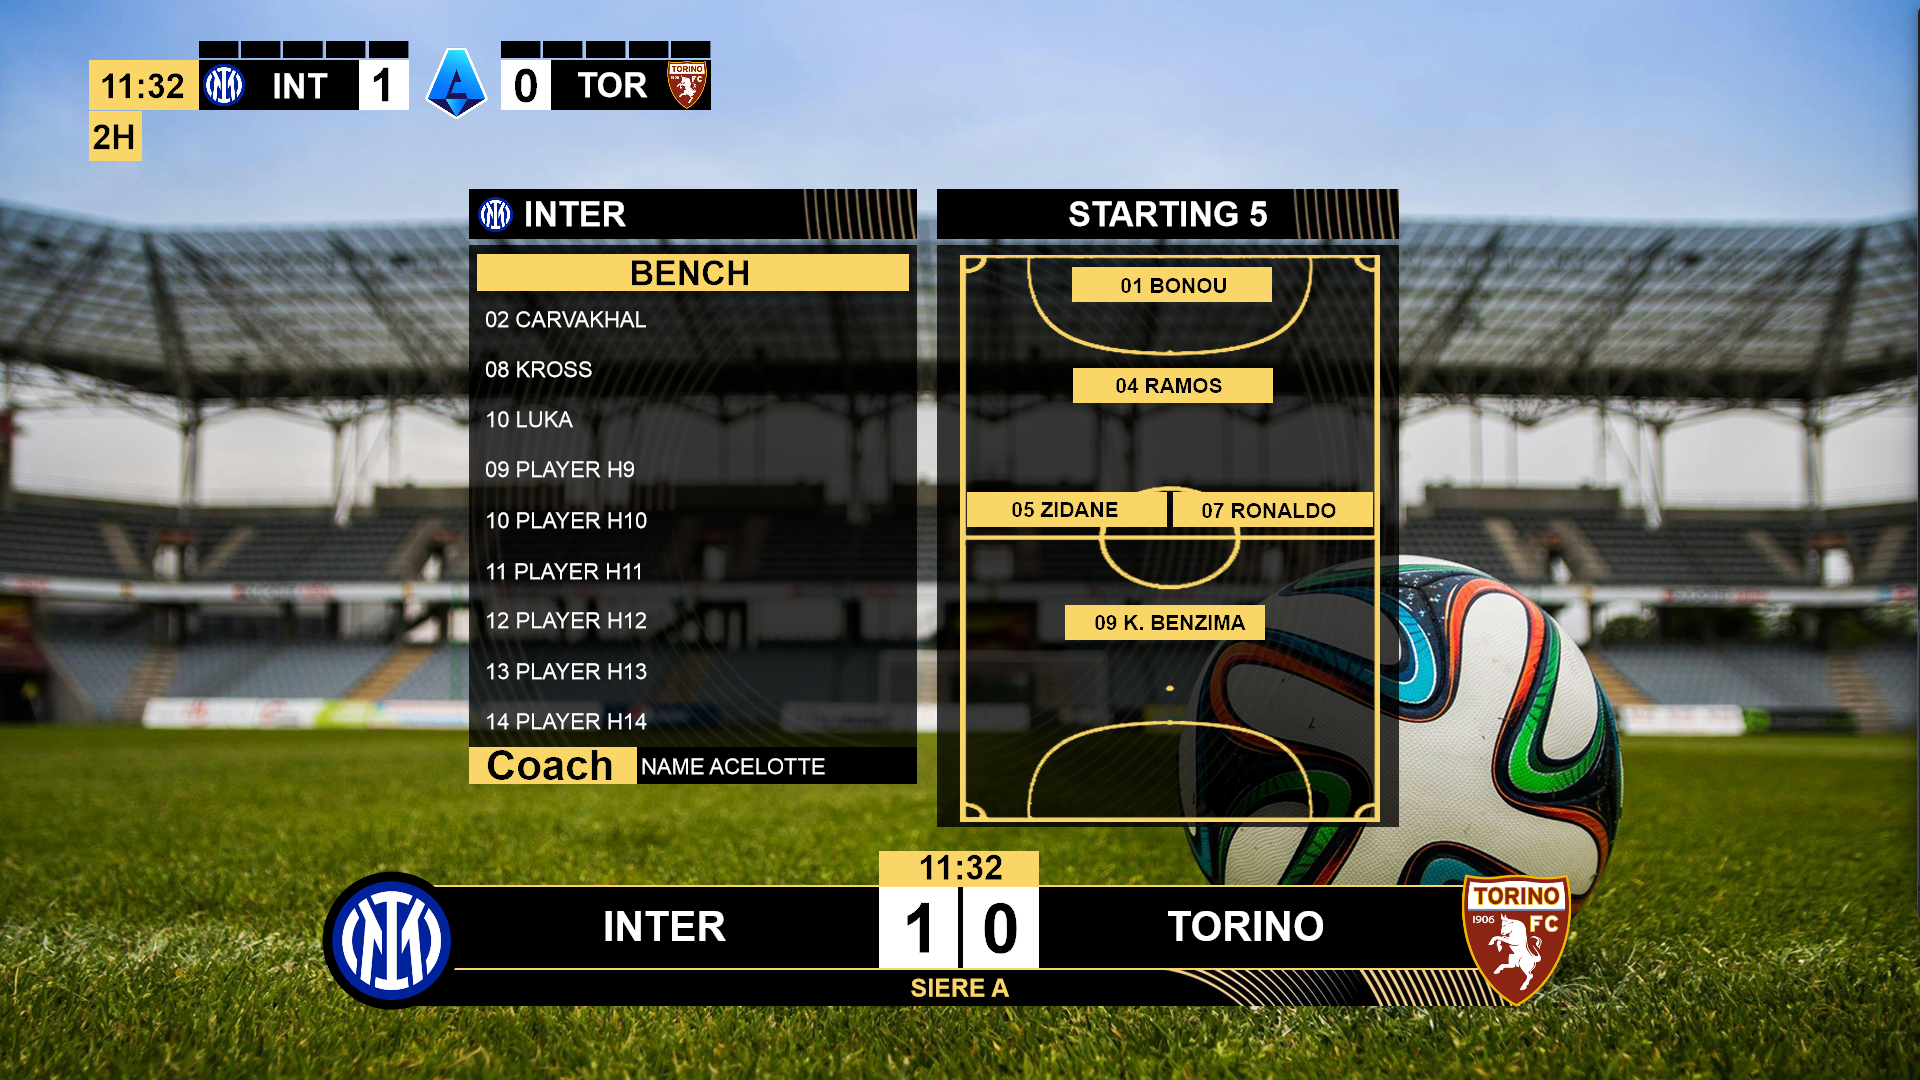
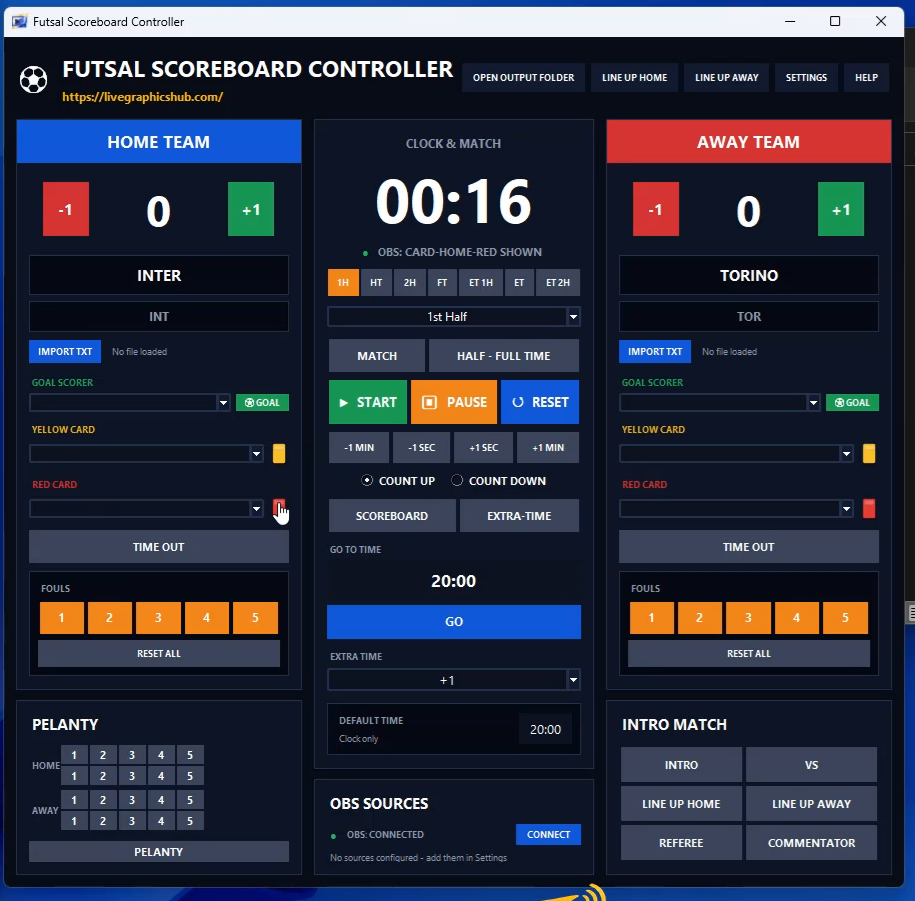
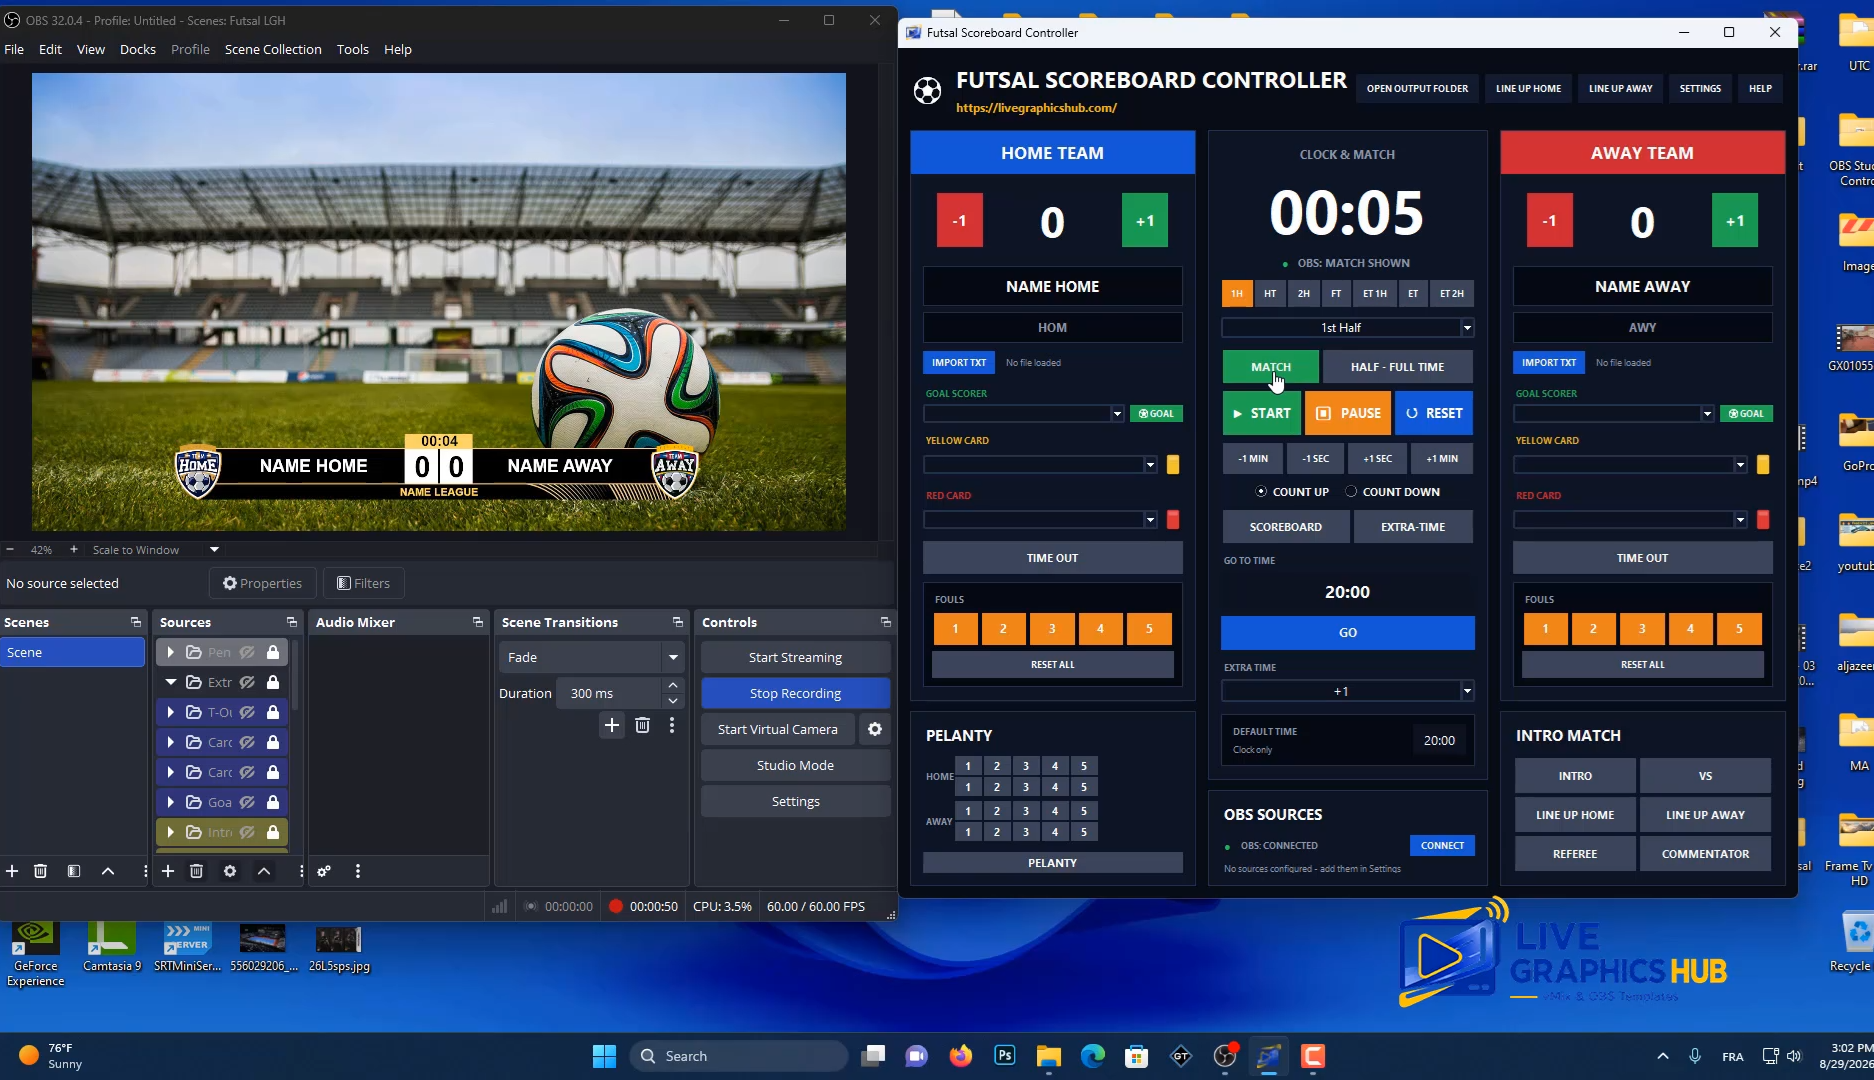

⚽ Complete Futsal Broadcast Graphics System
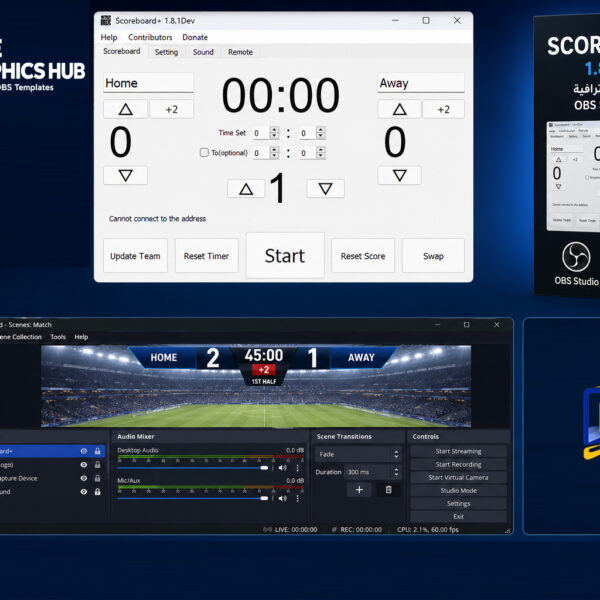
Take your futsal live streams to the next level with a professional Control Panel designed to manage and output broadcast overlays directly to OBS Studio.
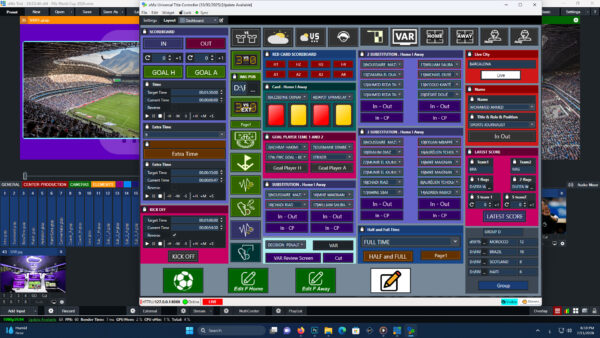
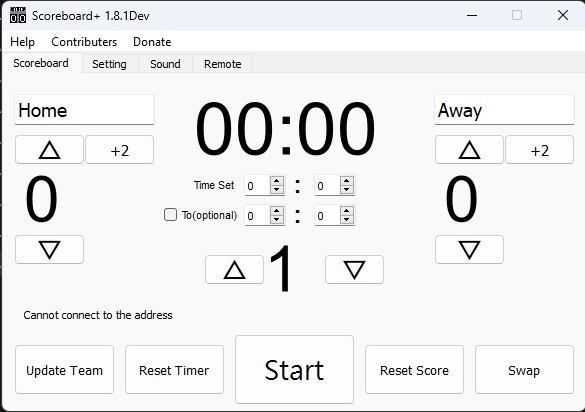
The Control Panel allows you to control match information in real time and display different graphic elements on screen whenever needed.
🎛️ Complete Overlay Control
The Control Panel can output and control multiple broadcast elements, including:
- ⚽ Live Scoreboard Overlay
- ⏱️ Match Clock Overlay
- 🏠 Home & Away Teams
- 👤 Player Information
- ⚽ Goal Scorer Overlay
- 🟨 Yellow Card Overlay
- 🟥 Red Card Overlay
- 🏆 Match Information
- 📢 Additional Broadcast Graphics
📺 Designed for OBS Studio
All graphic elements are designed to be used as live overlays in OBS Studio, allowing you to create a professional futsal broadcast without complicated manual editing.
🎥 Perfect For
- Futsal Clubs
- Sports Broadcasters
- Futsal Tournaments
- Local & Professional Competitions
- Live Streaming Teams
- Sports Content Creators
🔥 Key Benefits
✅ Complete Control Panel
✅ Real-Time Overlay Output
✅ Professional Futsal Graphics
✅ Easy to Operate During Live Matches
✅ Designed for OBS Studio
✅ Multiple Broadcast Elements
✅ Ideal for Live Sports Production
Create professional futsal broadcasts with a complete graphics and overlay control system for OBS Studio.
Here is the step-by-step guide to connect OBS Studio with the Football Scoreboard Controller:
1. Open WebSocket Settings in OBS From the top menu bar in OBS Studio, click on Tools and select WebSocket Server Settings.
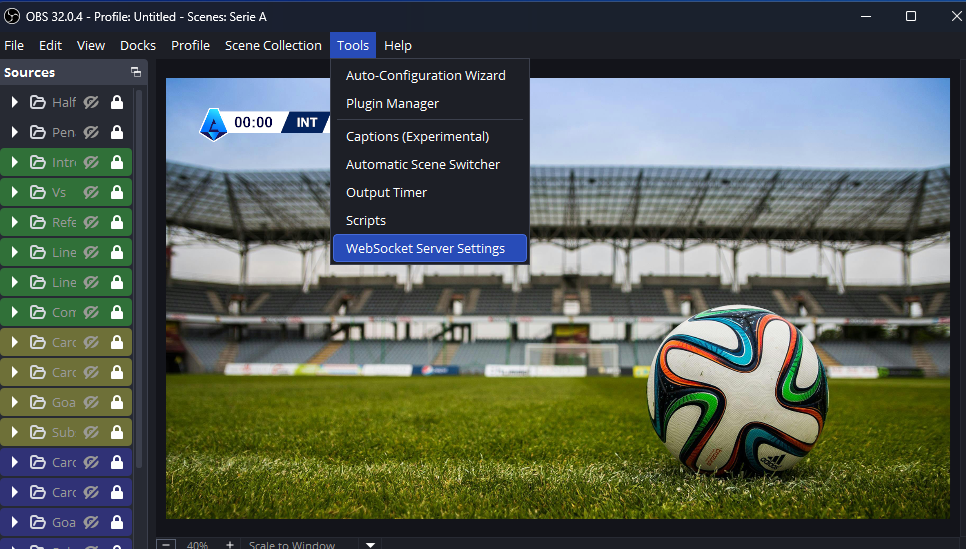
2. Enable the WebSocket Server Ensure the checkbox for Enable WebSocket server is marked, then click the Show Connect Info button to display the connection details.
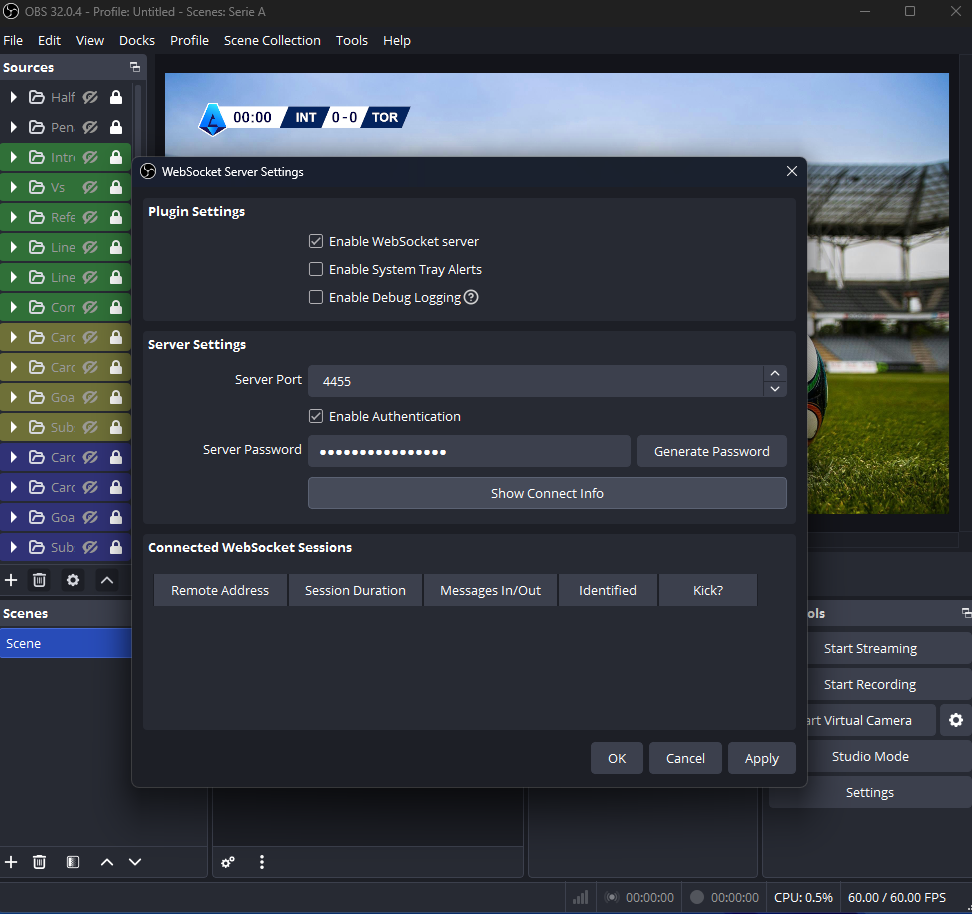
3. Retrieve Connection Info & Password A pop-up window will appear showing the Server IP, Server Port (default is usually 4455), and Server Password. Copy the Server Password.
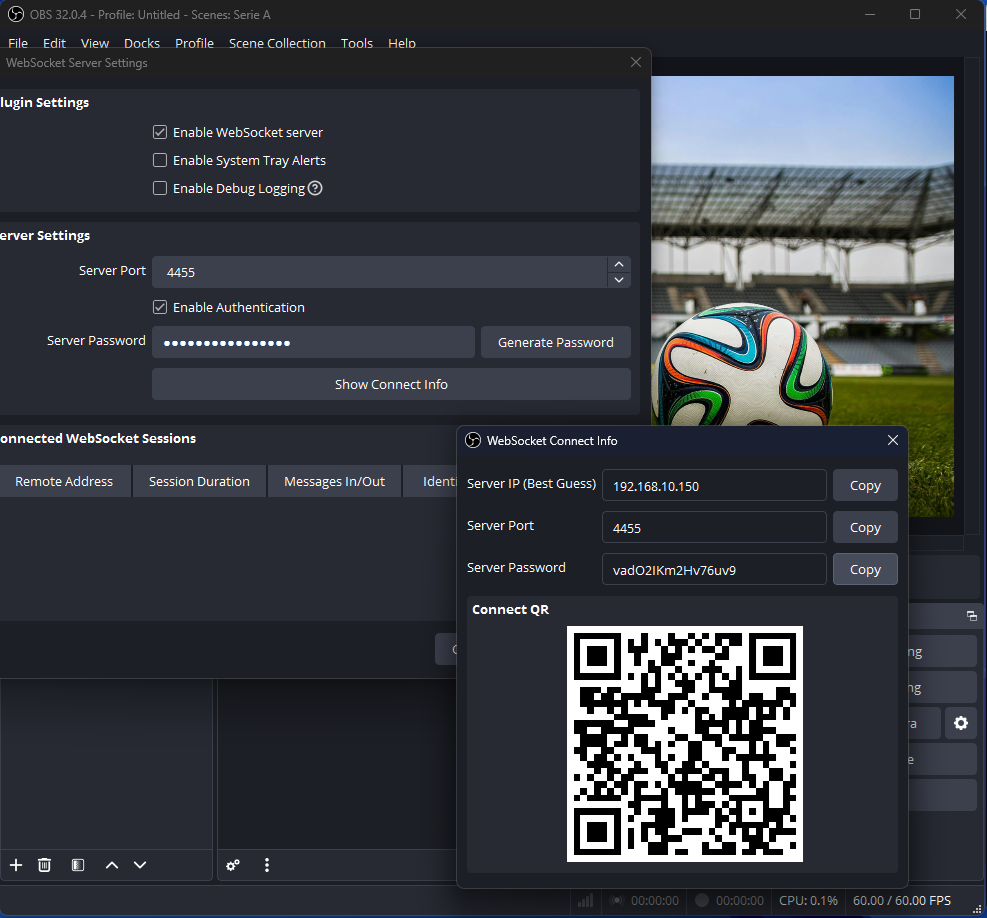
4. Access the Controller Settings Open your Scoreboard Controller application and navigate to the Settings panel.
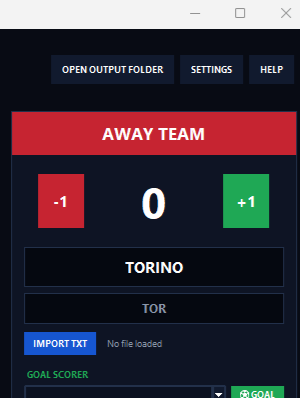
5. Input Connection Details & Save
-
Locate the OBS CONNECTION section inside the settings.
-
Paste the copied password into the Password field.
-
Verify that the Port (4455) and Host (
localhost) match the OBS settings. -
Click SAVE to apply changes, then click CONNECT.
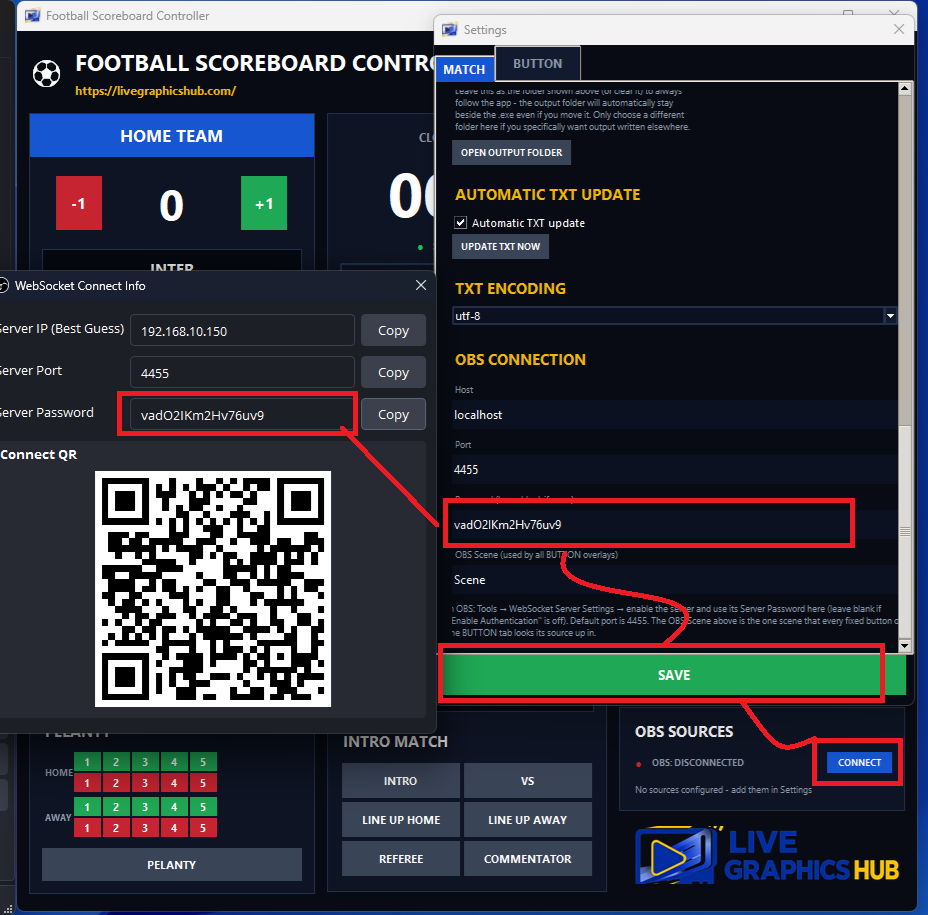
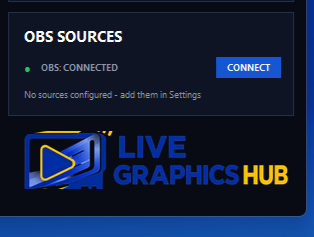
6. Verify Successful Connection The status indicator under OBS SOURCES in the controller will turn green and display OBS: CONNECTED, confirming that the panel is linked and ready to control live graphics.

Reviews
There are no reviews yet.